The Beginners Guide to Mastering – Part 1
The Beginners Guide to Mastering – Part 1
Let’s be real. The vast majority of people who are artists, producers, or engineers have no idea what mastering really is, yet more often than not have their own false preconceptions. While it may be fine if you do not know what mastering is early in your musical endeavors, that is no excuse to not learn as you become more serious in your endeavors, so you can tell a real professional from a hack job laptop bedroom “engineer”, or develop these skills for yourself. In this article I am going to give you the basics of why mastering even exists, the basics on mastering for yourself (and managing expectations), how to distinguish a good master from a bad master, and a quick section on modern broadcast, streaming, and format standards. Yes, those matter.
Why?
I am not going to delve into the complete history of mastering audio, but I will give a very high level (surface level) overview. Originally mastering was a process in which a recorded song was adjusted for broadcast levels along with processed for being cut or pressed as vinyl in order to ensure the optimal playback of the format(s) and also achieve the overall best sound. For instance the low end would have to be cut on certain recording before cutting it to vinyl to prevent the needle from jumping grooves. There are many other examples of how audio had to be adapted to playback optimally on analogue formats (like mono only for 8-Track), but the vinyl master process is one of the most notable.
As we move to modern formats for recording, mastering has become the process of ensuring the optimal translation across all sources, conforming to levels for broadcast and distribution, and making the track sounds great. In the past 40 years with the advent of the Loudness War, there has been a blatant disregard for conforming to broadcast and format standards. You can often playback a CD with your computer and view the levels in your DAW or with your metering suite of choice and find that even this professionally produced and engineered music often clips or rides the digital zero on the meter and therefore clips the output converter which is detrimental to the overall quality of the music.

In the modern day, there is no excuse to still have these issues with level. Even with streaming and broadcast services using normalization to reduce the overall level of tracks that exceed the levels of the standards, it is still the responsibility of the modern mastering engineer to do their job properly and start working with and not fighting against the standards.
Your Turn:
While there is no single way to master a track, and while you are not working in an ideal acoustic environment with the proper equipment (If you do have a proper build out and the gear, why are you reading this? Go do some real mastering.), you can still produce a workable master.

Get your shit together and your tools. Chances are you are not working in a properly treated room and you are probably using some mediocre monitoring equipment and may only have one or two good reference sources. Get your monitors properly positioned. Set up that proper monitoring triangle. If I see another “Studio” with the monitors spread so far out they may as well be in the other room, I will have a coronary. Clear the empty La Croix cans and notebooks full of songs about your ex-whatever off your desk and any obstructions to the speakers. If you are using cans (headphones) to master either grab Sonarworks and Waves NX, or find a freeware version. While not ideal, we are going for workable here. I personally use 3 different pairs of monitors, a few different pairs of cans, and of course reference off other sources and this is to ensure translation.

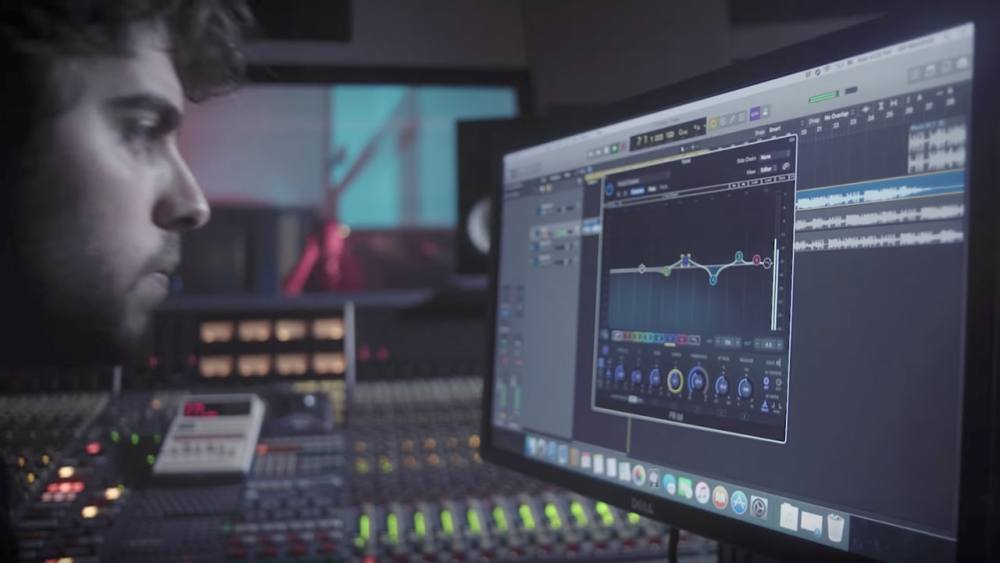
Your next move is to get your plugin chain established. Personally I use Acustica Magenta5 which has a Massive Passive Style Mid/Side EQ, then Acustica Lift2 which is a saturator/EQ/clipper/comp, and then of course Ozone 8 Advanced and Insight for precision, level, and metering. You don’t need to buy these plugins, they do cost a fair bit of money. Luckily these days, there are tons of great freeware options that rival and even beat paid plugins. Be sure to check out the Mastering With Free Plugins video from The Noise Floor for more in depth information on select freeware plugins used for mastering.
While you may assume I am making the argument of “It’s the ears, not the gear.” I do have to counter that by saying investing in a proper mastering suite will make your workflow a lot more comfortable and ensure you have the full tool set you need in order to create a proper master. While the freeware is workable, using a dedicated suite like Ozone is going to make your work and final product better if used properly (not sponsored by iZotope, obviously).

The basic tools you may want to use are a Mid/Side EQ, a dynamic EQ, some sort of limiter with inter-sample peak suppression, and an accurate metering suite that measures peak levels and LUFS (Loudness units relative to full scale, RMS is not your friend). You can also try any saturators, other coloruful EQs, etc. as you please, but less is more since again we are going for workable. The Mid/Side (Sum/Difference as referred to by some) EQ will give you control over the stereo content and mono sum content individually and allow another dimension of control. I prefer it as my main tool for broad strokes since it allows me to reshape or control elements cohesively and rebalance the stereo image and soundstage. The Dynamic EQ (which can also be a Mid/Side tool depending on what type you choose) is useful for dynamic control of certain frequencies without the hard crossovers of a multiband compressor and can be a more cohesive tool by giving you the ability to constantly maintain a level for a frequency range. Your limiter is your final element in the chain (except for the metering of course, but we are talking processors of the sound). There are a lot of different limiters, but in this case you will definitely want something with more control and the ability to set attack and release times along with potential controls for transient manipulation (again suggesting the Ozone 8 Maximizer/Limiter, but again, there are freeware limiters out there that are just as good).
Plugin Suggestions:
Mid-Side EQ:
– Voxengo Marvel GEQ
Meters:
– Youlean Loudness Meter
– Voxengo SPAN
Limiters:
– vladg/sound Limiter No. 6
– Sonic Anomaly Unlimited (Reaper only for Mac)
Dynamic EQ:
– TDR Nova
When you have your chain established, we can get into the actual process of making moves to turn your (hopefully fantastic) mix into a workable to great master. First, you must critically listen to the mix and make notes (not just mental, write that shit down or else you will forget it while in the fray of the master). The best method I find for critically listening is to render out your mix and listen to it outside your DAW either on your media player, or use a mobile device to play it back on many devices. Hopefully by doing all the aforesaid, you will have compiled a list of potential issues, things you want to tweak, and have established the overall tonality and characteristics of the master you wish to make. It’s also vital to reference other music that is within the style and character you seek to provide for your own master. Make notes on that too, and potentially import those songs into the mastering session on your DAW and be aware of their metering analytics. The level (in LUFS, again not RMS), spectrum characteristics, dynamics, tonality, etc. are going to be a very general roadmap to what you want as your end results.
It is also vital you take breaks, monitor at the optimal Fletcher-Munson Curves, and from now on only make moves if you are conscious of the potential results. While working instinctively is not impossible for any type of engineering and production work, as you are starting out, you need to be aware of what you are doing and be able to justify the move and have the foresight to see what may be the final results. While some experimentation will be necessary for learning how your tools work and what they are doing to the sound, be thoughtful and pay attention to the impact of the moves you are making. Having the proper mindset is going to determine whether or not you are productive in your efforts or you are merely chasing your own tail in a futile pursuit. Use your notes to make a list, outline, or plan to achieve what you want. With experience you will be able to prioritize and plan without having to make so many notes, but for now make them, and recognize deviations from the plan, and be to make the decision of whether or not you are going to have to back track or roll with it and make it work.
Yes that is a lot of preparation to begin mastering a song. But as with any skill you want to become adept at, you must start at square one. Learn the methodology, and establish your own workflow and techniques in order to gain any level of competency. I will restate again: referencing other work; taking breaks; and maintaining a vision and goal for the final result will determine the quality of the final product.
In the next article, I will get into the meat and potatoes. Hopefully you have gotten through the egregiously boring content in the above. See you in part B next week.
See “Beginners Guide To Mastering Part 2“
Discover more from Making A Scene!
Subscribe to get the latest posts sent to your email.


